User management
The User management tab allows you to:
Add new users to your DocuMine environment.
Enable, disable, and delete users.
Assign roles to the users.
Good to know:
If you have created a new user account, the user must activate it.
There are different activation scenarios. You can provide users with the following link to the User Menu to help them activate their account: Account activation.
How to get there:
User menu > Settings > User management
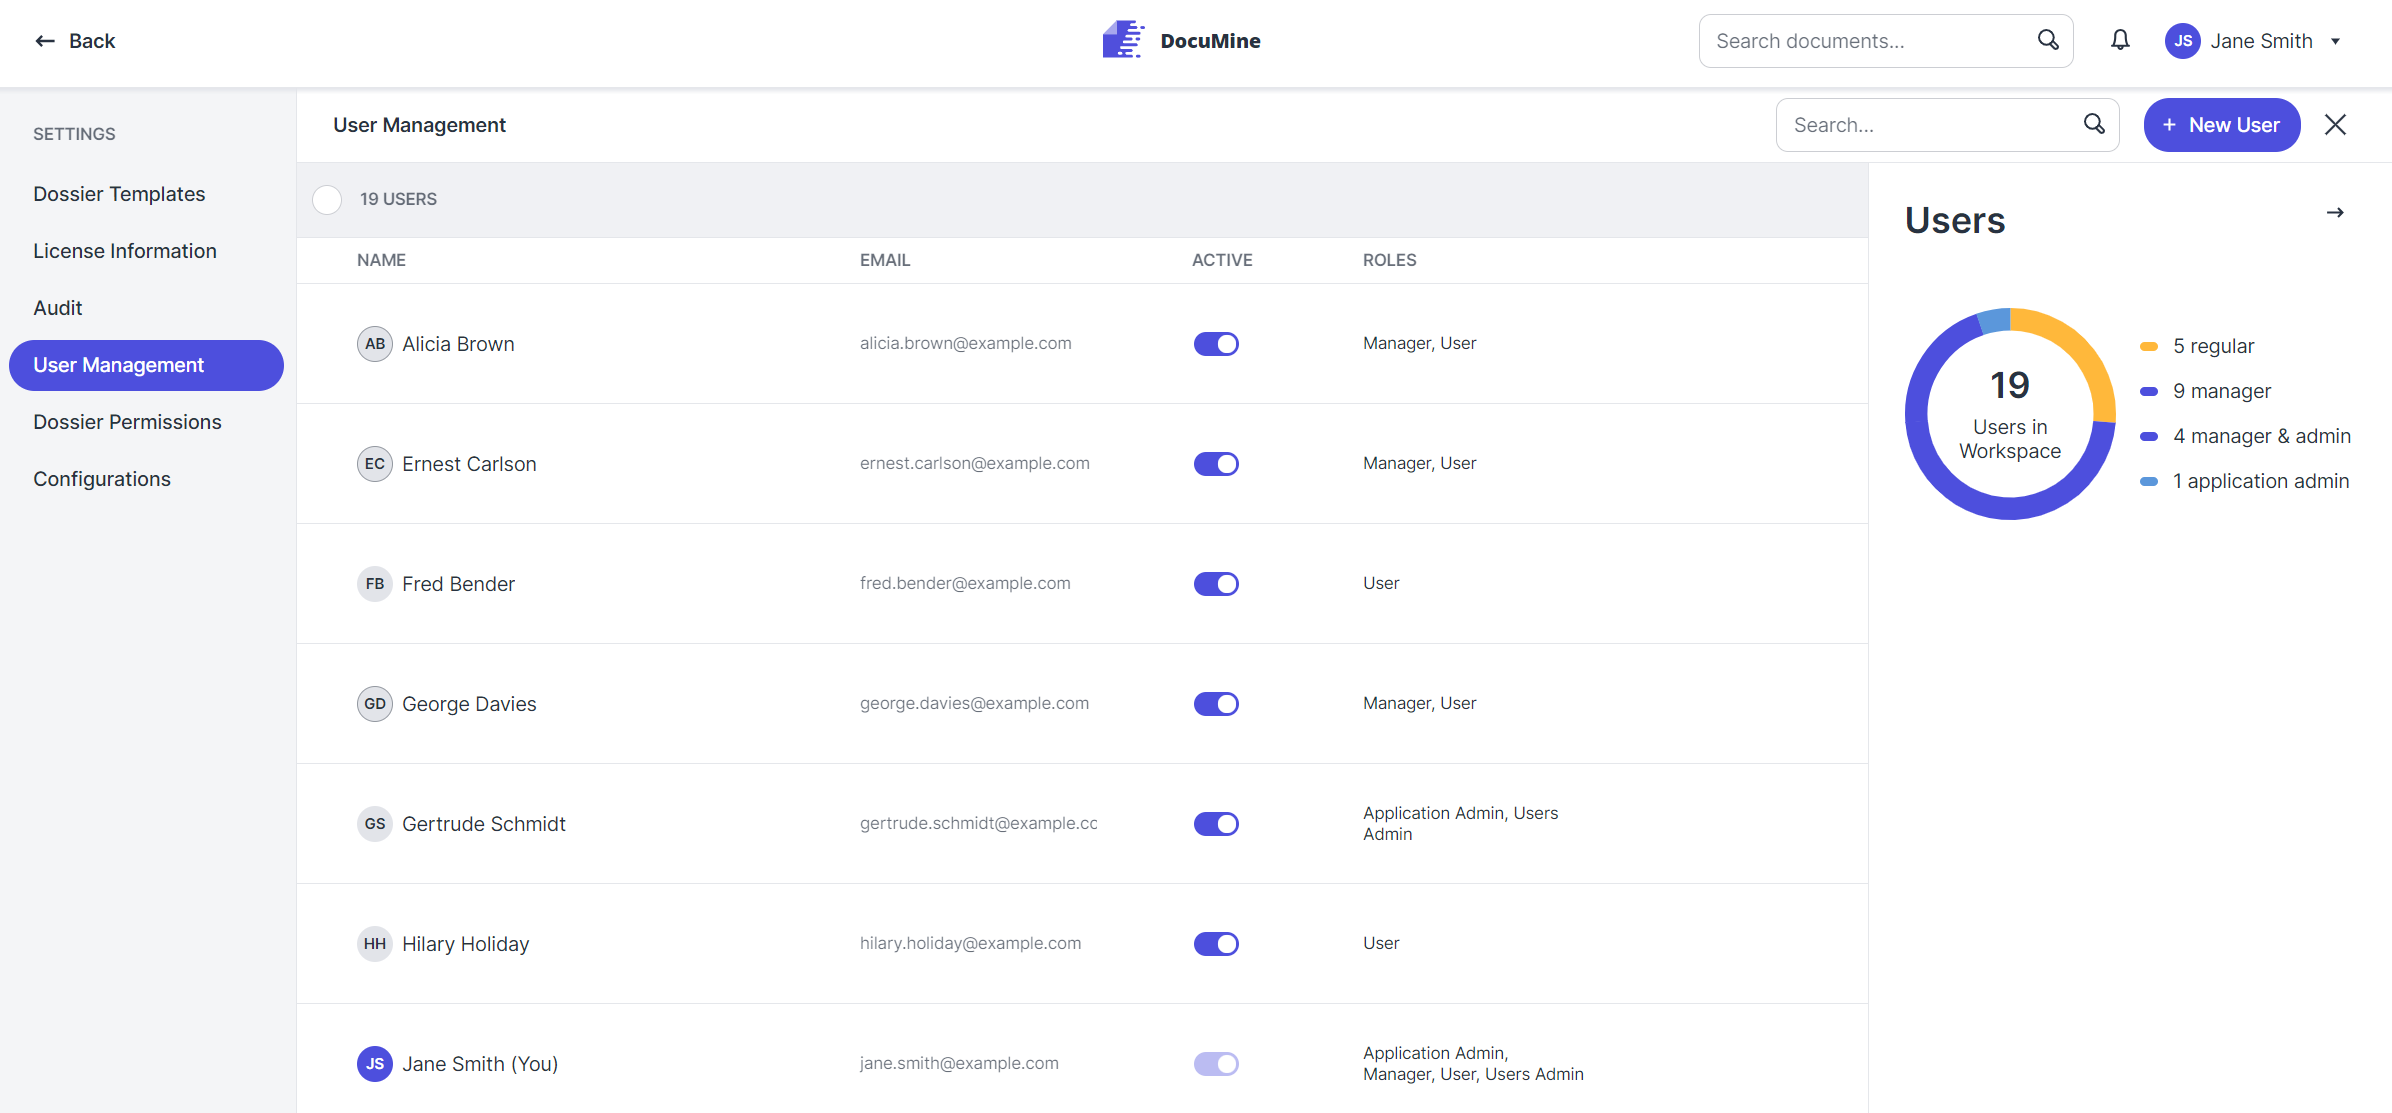
User list in the User Management area
What can you do there?
Click New user (next to the search bar in the bar above the user list).
The "Add new user" dialog opens.

"Add New User" dialog
Complete the fields. Mandatory fields are marked with a blue asterisk.
In the Role section, you can assign one or more roles to the user. Some roles include other roles. Just tick the respective checkbox(es).
Click Save User to complete the process.
The new user will then be displayed in the user list.
Good to know:
If you assign a role to the user in the "Add new user" dialog, the user's account will be enabled by default.
If you do not assign a role to the user, the user will be initially disabled. (The Roles column of the user list shows No role defined.) Users can only work in DocuMine if they have a role assigned.
The ACTIVE column of the user list contains a toggle button. If the toggle button is blue, the user is enabled; if the button is grayed out, the user is disabled.
Turn the toggle button on/off to enable/disable a user.
Note: To prevent you from accidentally deactivating your account, you cannot switch the toggle button next to your name.
User admins cannot disable admins because admins have more rights than user admins.
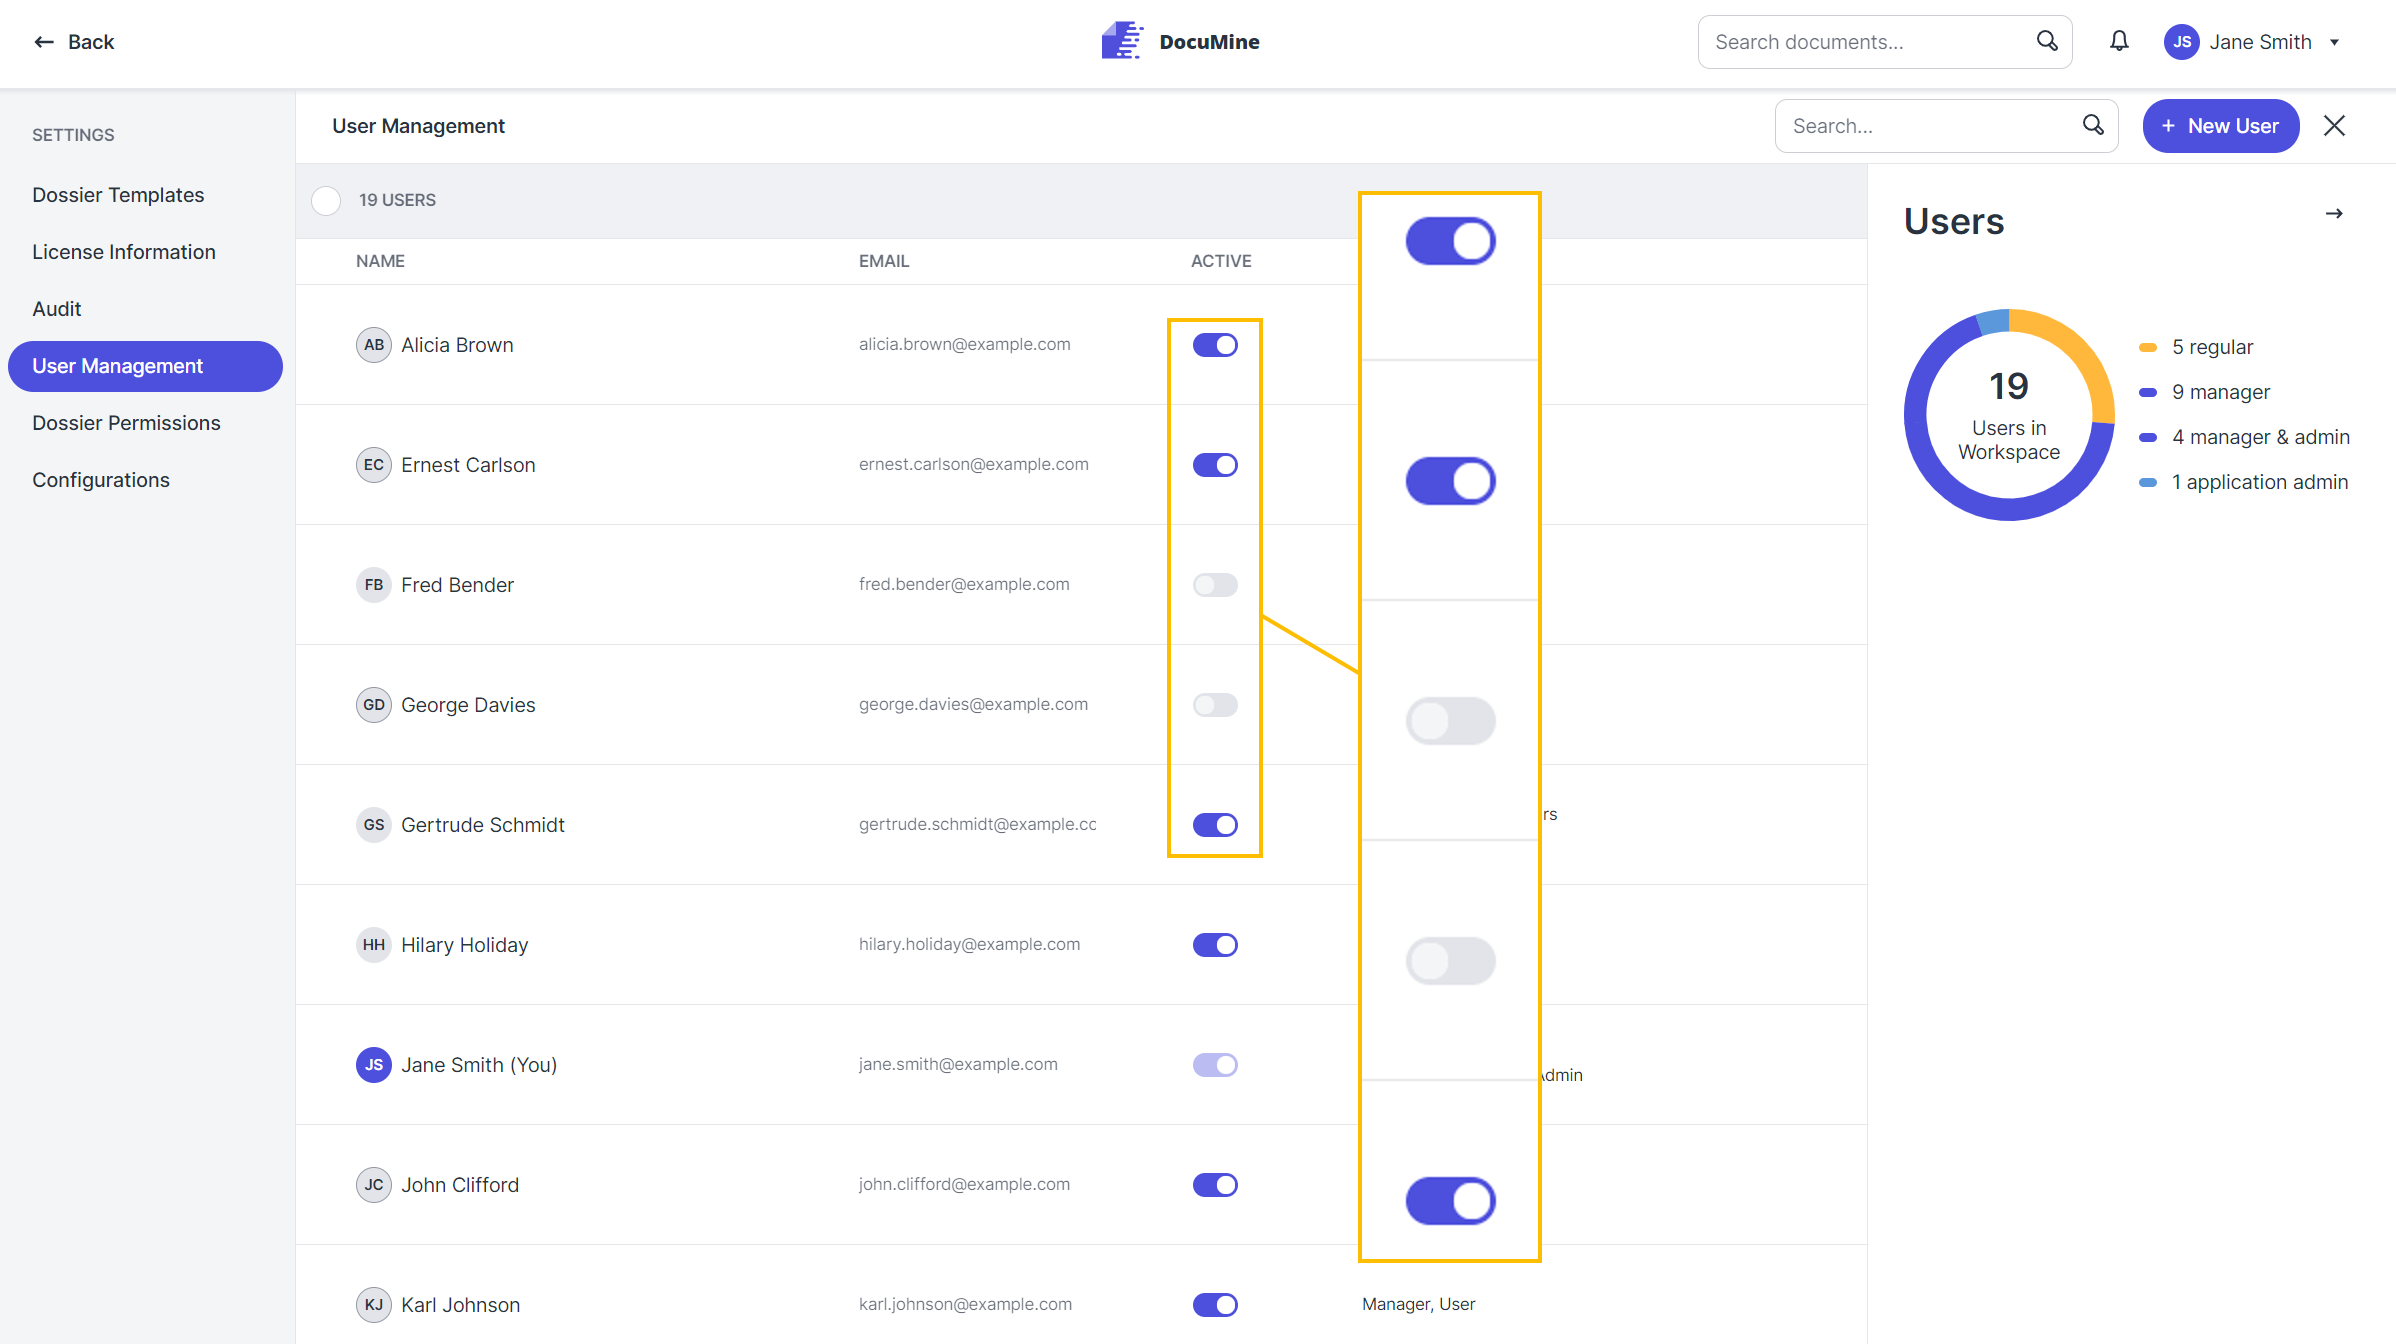
Toggle button for enabling and disabling users
Caution!
If you disable a user, the assigned roles will be removed. No role is defined for the user then.
If you enable a disabled user (= no role), the user will automatically be assigned the user role. You can use the Edit option if you want to assign a further or different role to the respective user.
How to edit an existing user or set a temporary password for an existing user:
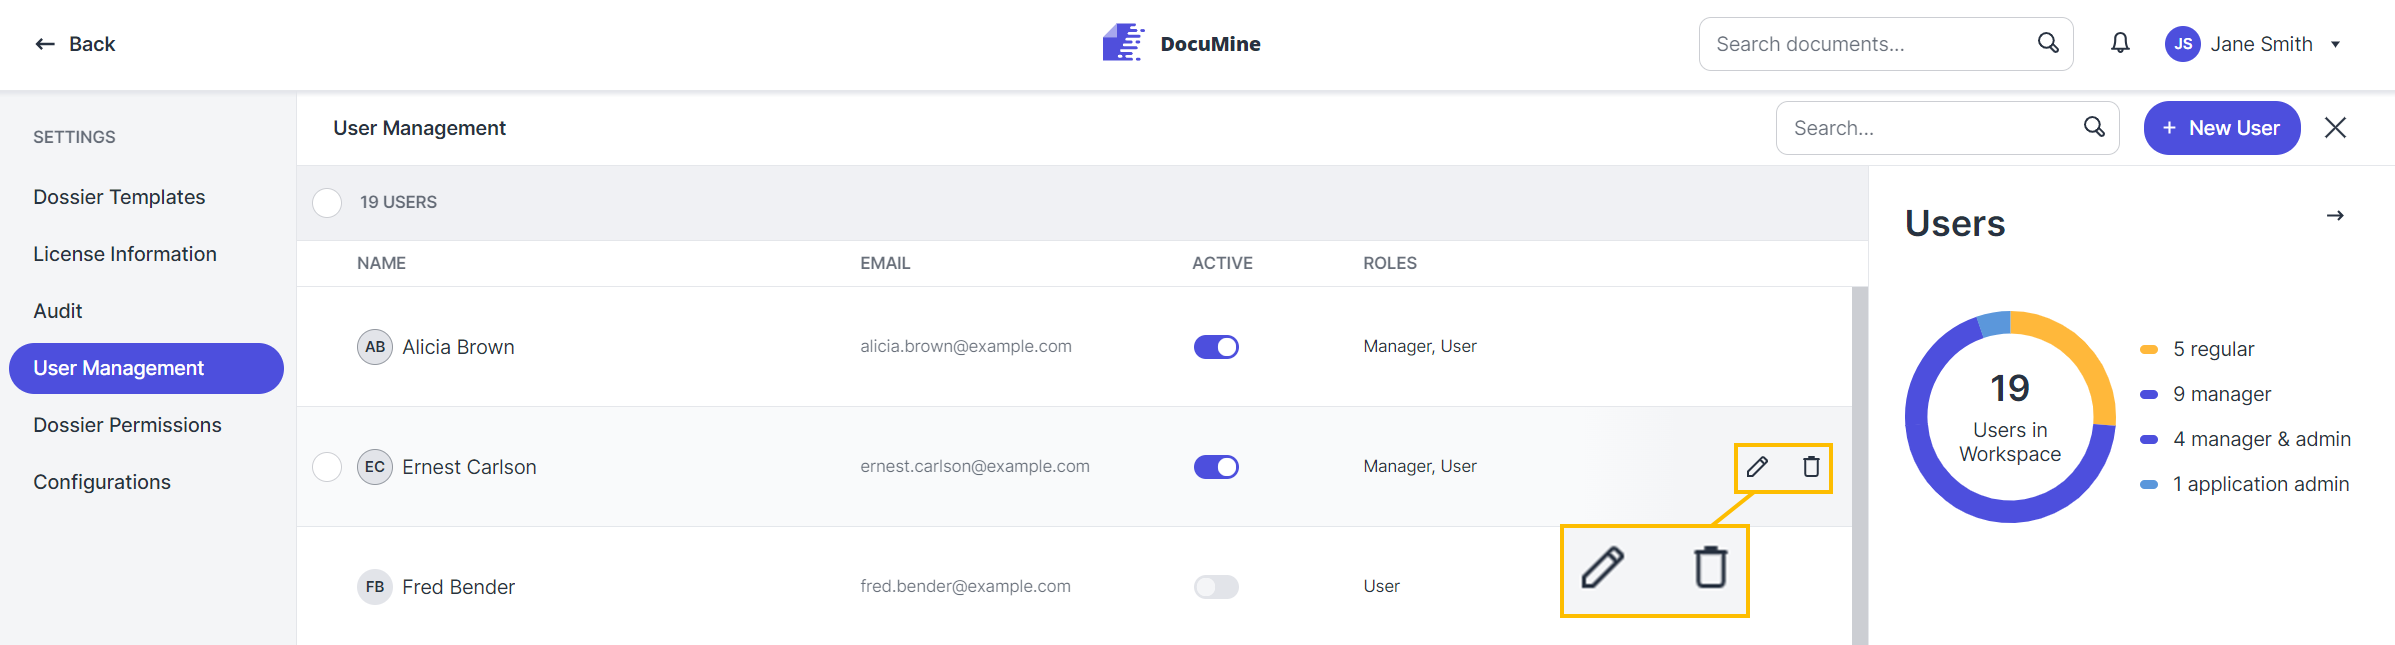
"Edit" and "Delete user" buttons in the user list
Hover over the user list and stop on the line of the user you want to edit.
The Edit and the Trash buttons appear on the right.
Click Edit.
The "Edit user" dialog opens. It is similar to the "Add new user" dialog, but offers an additional feature: You can reset the password of the respective user.
To do so, click Reset password.
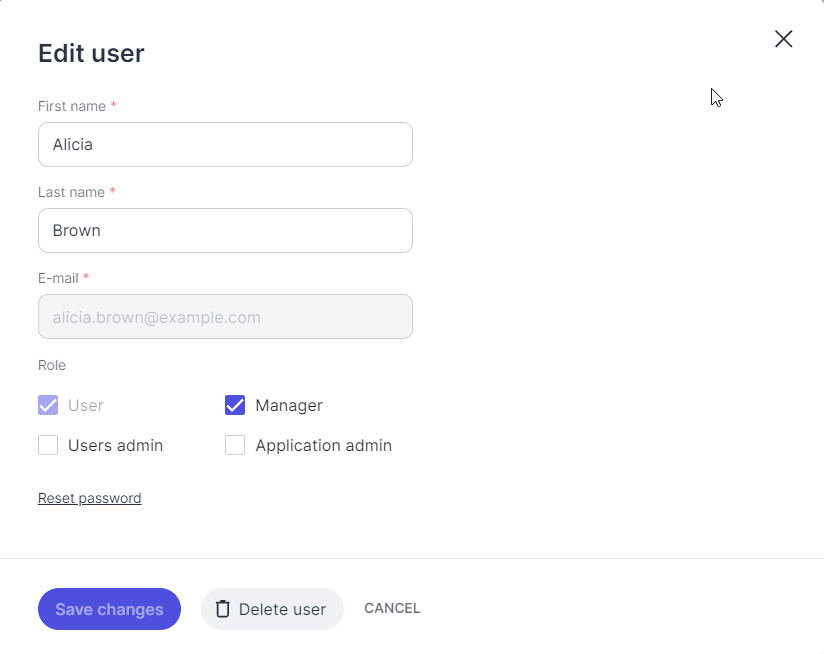
Reset password option in the "Edit user" dialog
The "Set temporary password" dialog opens.
Set a temporary password, save it, and inform the user about it.
Remember to click Save if you have made any changes.
Hover over the user list and stop on the line of the user you want to edit.
The Edit
 and the Trash buttons
  appear on the right.
Click Trash.
A dialog opens. It informs you about the implications: It tells you how many dossiers will be affected by the deletion of the user—and reminds you that the deletion affects all documents still pending review by the respective user.
Tick the checkboxes in front of these notes to acknowledge that you are aware of the consequences.
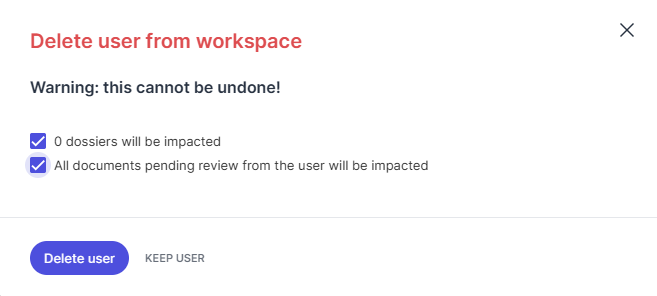
"Delete user" dialog
Next, click Delete user. (You have changed your mind? Then, click Keep user.)